Building micronaut microservices using microstartercli
Building Micronaut microservices using MicrostarterCLI involves several steps. MicrostarterCLI is a command-line tool that simplifies the creation and management of Micronaut projects. Here is a comprehensive guide on how to use it:
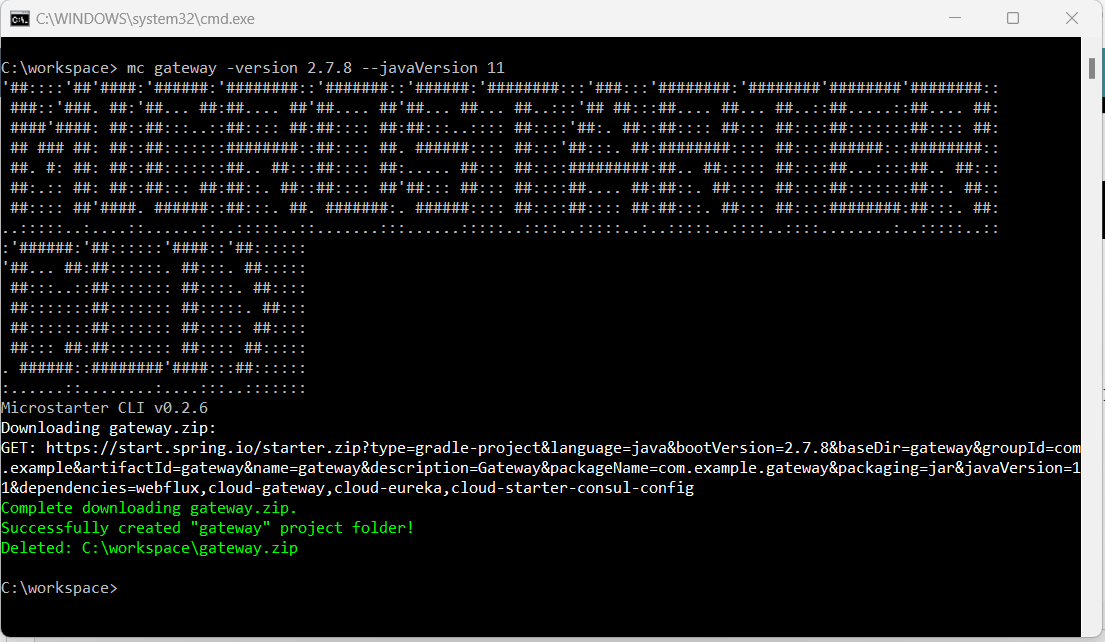
1. Install MicrostarterCLI
To get started, you need to install MicrostarterCLI. This can be done via SDKMAN (recommended) or manually by downloading the binary.
Using SDKMAN:
sh
sdk install microstarter
Manually:
- Download the latest release from the MicrostarterCLI GitHub releases page.
- Extract the binary and place it in a directory included in your system’s PATH.
2. Create a New Micronaut Project
Once installed, you can create a new Micronaut project using the microstarter command.
sh
microstarter create-app com.example.micronautservice
This command initializes a new Micronaut project in a directory named micronautservice with the base package com.example.
3. Project Structure
After creating the project, you’ll have a standard Micronaut application structure:
src/main/java/com/example/micronautservice: Contains your application code.src/test/java/com/example/micronautservice: Contains your test code.build.gradleorpom.xml: Build configuration file (depending on whether you chose Gradle or Maven).
4. Configure Application
Micronaut uses a configuration file located at src/main/resources/application.yml or application.properties. You can configure various properties like server port, data sources, and other Micronaut features.
yaml
micronaut:

application:

name: micronautservice

server:

port: 8080
5. Creating Controllers and Services
Create controllers to handle HTTP requests and services to handle business logic.
Example Controller:
java
package com.example.micronautservice.controller;
import io.micronaut.http.annotation.Controller;
import io.micronaut.http.annotation.Get;
import io.micronaut.http.annotation.Produces;
import io.micronaut.http.MediaType;
public class HelloController {
public String sayHello() {
return “Hello, Micronaut!”;
}
}
6. Running the Application
To run your Micronaut application, use the following command in the project root directory:
sh
./gradlew run
Or if using Maven:
sh
./mvnw mn:run
Your application will start, and you can access it at http://localhost:8080/hello.
7. Building a Docker Image
Micronaut provides built-in support for creating Docker images. Add the following to your build.gradle if it’s not already there:
gradle
plugins {

id "com.bmuschko.docker-remote-api" version "6.7.0"

id "io.micronaut.application" version "2.0.3"

}runtime(“netty”)
testRuntime(“junit5”)
processing {
incremental(true)
annotations(“com.example.*”)
}
}
javaApplication {
baseImage = ‘adoptopenjdk:11-jre-hotspot’
maintainer = ‘Your Name <you@example.com>’
ports = [8080]
images = [“example/micronautservice:latest”]
}
}
Then build and publish the Docker image:
sh
./gradlew dockerBuild
8. Deploying to Kubernetes
Micronaut integrates well with Kubernetes. To deploy your application to Kubernetes, you need to create the necessary Kubernetes deployment and service YAML files.
Example Deployment and Service:
deployment.yaml
yaml
apiVersion: apps/v1

kind: Deployment

metadata:

name: micronautservice

spec:

replicas: 3

selector:

matchLabels:

app: micronautservice

template:

metadata:

labels:

app: micronautservice

spec:

containers:

- name: micronautservice

image: example/micronautservice:latest

ports:

- containerPort: 8080
service.yaml
yaml
apiVersion: v1

kind: Service

metadata:

name: micronautservice

spec:

selector:

app: micronautservice

ports:

- protocol: TCP

port: 80

targetPort: 8080

type: LoadBalancer
Apply these configurations using kubectl:
sh
kubectl apply -f deployment.yaml

kubectl apply -f service.yaml
9. Observability and Monitoring
Micronaut supports various observability tools like Prometheus, Grafana, and others. To enable metrics, you can add dependencies and configurations as needed.
Example for Prometheus:
Add the dependency in build.gradle:
gradle
implementation("io.micronaut:micronaut-management")

implementation("io.micronaut.configuration:micronaut-micrometer-registry-prometheus")
Configure the application:
yaml
micronaut:

application:

name: micronautservice

metrics:

enabled: true

export:

prometheus:

enabled: true

management:

endpoints:

enabled: true

all:

sensitive: false
10. Testing
Micronaut has excellent support for testing. Use JUnit or Spock for writing tests.
Example Test:
java
package com.example.micronautservice;
import io.micronaut.http.client.annotation.Client;
import io.micronaut.http.client.RxHttpClient;
import io.micronaut.test.extensions.junit5.annotation.MicronautTest;
import jakarta.inject.Inject;
import org.junit.jupiter.api.Test;
import static org.junit.jupiter.api.Assertions.assertEquals;
public class HelloControllerTest {
RxHttpClient client;
void testHelloEndpoint() {
String response = client.toBlocking().retrieve(“/hello”);
assertEquals(“Hello, Micronaut!”, response);
}
}
Conclusion
Using MicrostarterCLI simplifies the process of setting up and managing Micronaut microservices. Follow these steps to create, configure, and deploy your Micronaut applications efficiently. This guide covers the basics, but Micronaut offers a wide range of features and integrations that you can explore further in its comprehensive documentation.